Design one small object
Your team chooses the object. It must be one solid piece with a flat bottom, small enough to hold in one hand, with no words and no thin parts.
Team roles
Operator
Has the laptop. Types and clicks.
Designer
Decides the idea and the prompt.
Checker
Inspects the model and writes the notes.
Roles change at 11:20 and at 11:55, so each person has the laptop once. While the laptop is busy, write the notes on the paper sheet.
Credit costs
- 9One picture
- 25Image to 3D
- 10Texture (colour)
- 44 creditsTotal for one coloured model
Schedule
- 9:30
Arrive
- Arrive by 9:30. The organisers mark attendance, then open the day at 9:45.
- 10:00
Sit with your team
- Sit with your team of three.
- Check that your laptop shows the Meshy workspace.
- 10:10
Six ideas and a demo
- Watch the front screen. The instructor explains six ideas about 3D models and makes one model live.
- 10:40
Practise
Finish one practice model by 11:05.
- Operator
- Makes the practice model on the laptop.
- Designer
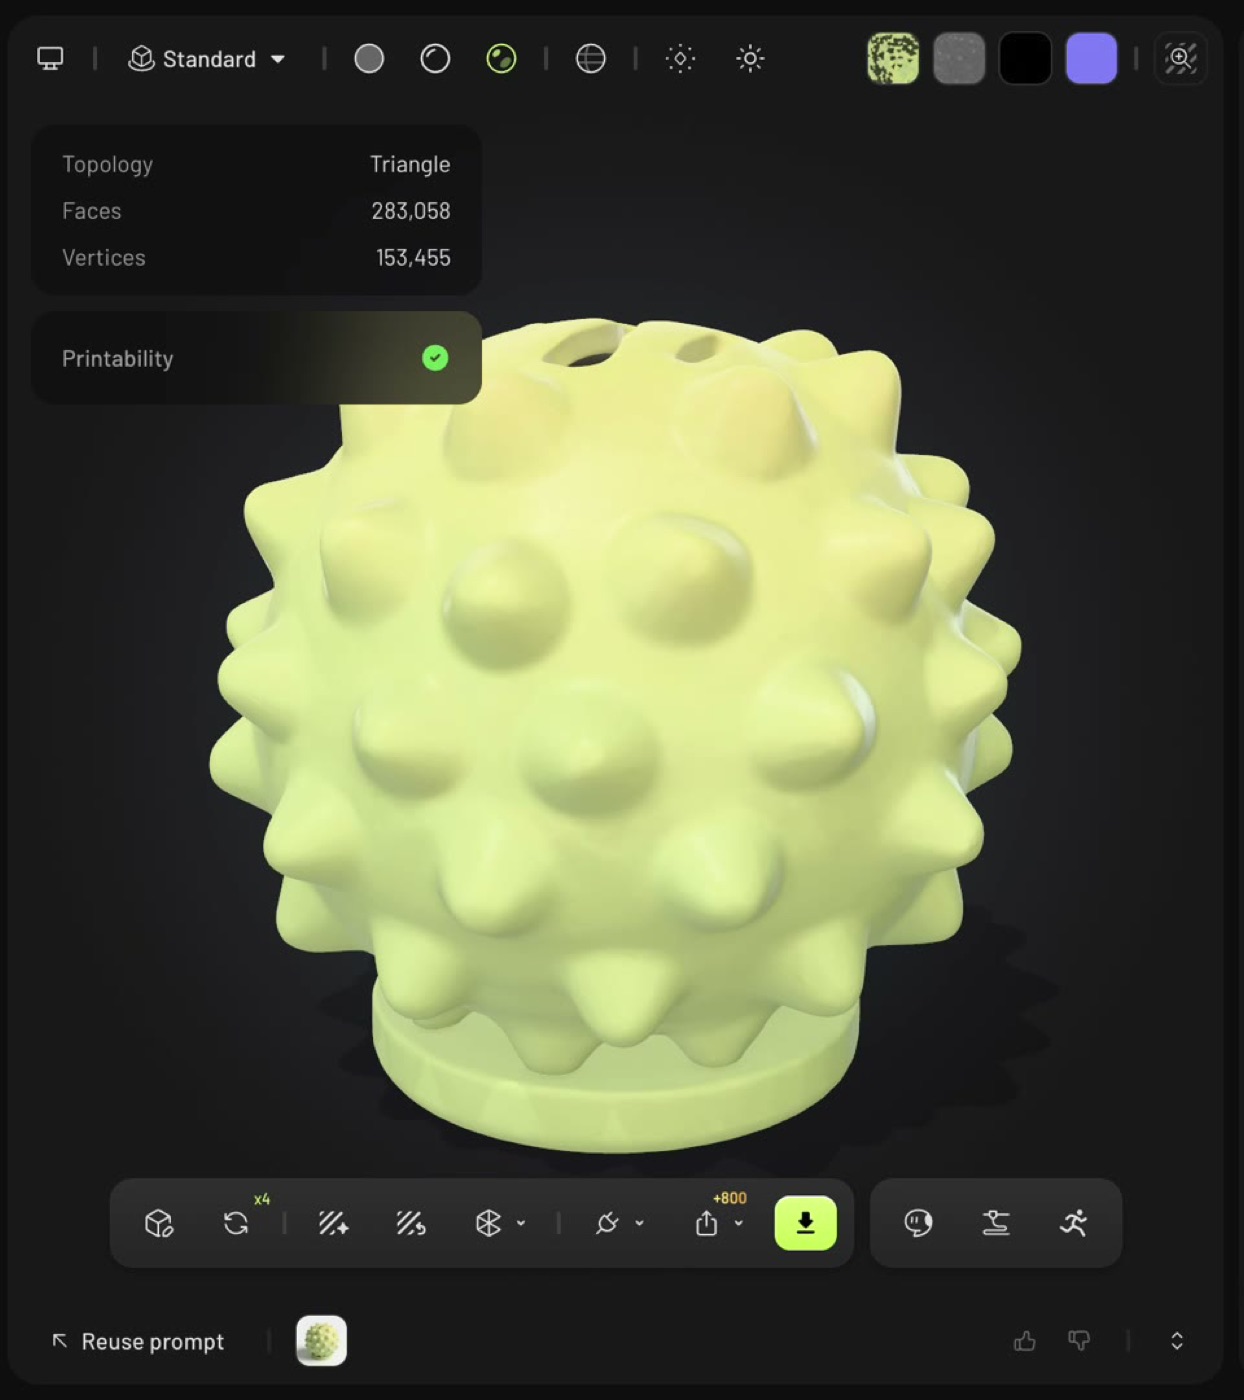
- Follows the durian example and says each next click.
- Checker
- Watches the credits, then finds one thing wrong with the model.
- Set Number of images to 1. One picture costs 9 credits and four cost 36.
- Paste the prompt below and press Generate.
- Image to 3D costs 25 credits and starts as soon as you press it, so agree as a team before pressing.
- The model is grey at first. To add colour, press Texture (10 credits).
- Turn the model over and find one thing that is wrong with it.
Practice prompt
A durian-shaped coin bank, chunky with rounded spikes, flat base, smooth toy style, to sit on a desk. Plain white background.
- 11:10
Break
- Leave Meshy open. Anything still generating will finish during the break.
- 11:20
Sketch
Choose one idea by 11:30.
- Change roles now.
- Each person draws three sketches in five minutes. Then the team picks one and says why.
- The object must be one solid piece with a flat bottom, fit in one hand, and have no words or thin parts.
- If you have no idea yet, try something for your desk, a gift, or something from a place you know.
- If you want a character that can move later, draw it with arms out, legs apart and nothing covering the legs.
- Write notes 1 and 2.
- 11:30
Picture
Agree on one picture by 11:40.
- Operator
- Types the prompt and makes the picture.
- Designer
- Says the prompt, then writes a second wording in case the first picture is wrong.
- Checker
- Checks each picture against the rule and writes note 3.
- Write the prompt in this order: the object, its shape, the bottom, the style and the use.
- If the picture is not right, change the prompt and make another picture. A picture costs 9 credits and a model costs 25.
Prompt pattern: replace the words in brackets
A [object], [its shape], flat base, [style], to [what it is for]. Plain white background.
- 11:40
Model
Find one problem by 11:55.
- Operator
- Presses Image to 3D, then turns the model for the Checker.
- Designer
- Plans the change for the next try while the model generates.
- Checker
- Inspects the back, the underside, the thin parts and the wireframe, checks thin walls in Print Check, and writes note 4.
- Judge the model as you would a part for printing. Would it print as it is? Where would it need supports?
- Open Print Check (Printability, then Print Check). It is free. Thin walls should read 0% below 1 mm. It measures the model 15 cm tall, so a smaller print has thinner walls.
- Note 4 is one problem and where it is.
- 11:55
Improve
Make a better model, in colour, by 12:15.
- Operator
- Makes the better model and adds colour.
- Designer
- Decides the change, then starts planning the talk.
- Checker
- Compares the old model with the new one and writes notes 5 and 6.
- Change roles again.
- Each new try makes a new model and leaves the old one unchanged.
- Ask the instructor before you make a third model.
- 12:15
Save
Save the model and two screenshots by 12:25.
- Operator
- Downloads the file and takes two screenshots, front and back.
- Designer
- Decides who says which part of the talk.
- Checker
- Writes note 7, then rehearses the talk with the Designer.
- If you are running late, colour your best model and save that one.
- Press the green download button, keep glb, and press Download.
- Move the file into your team folder.
- 12:50